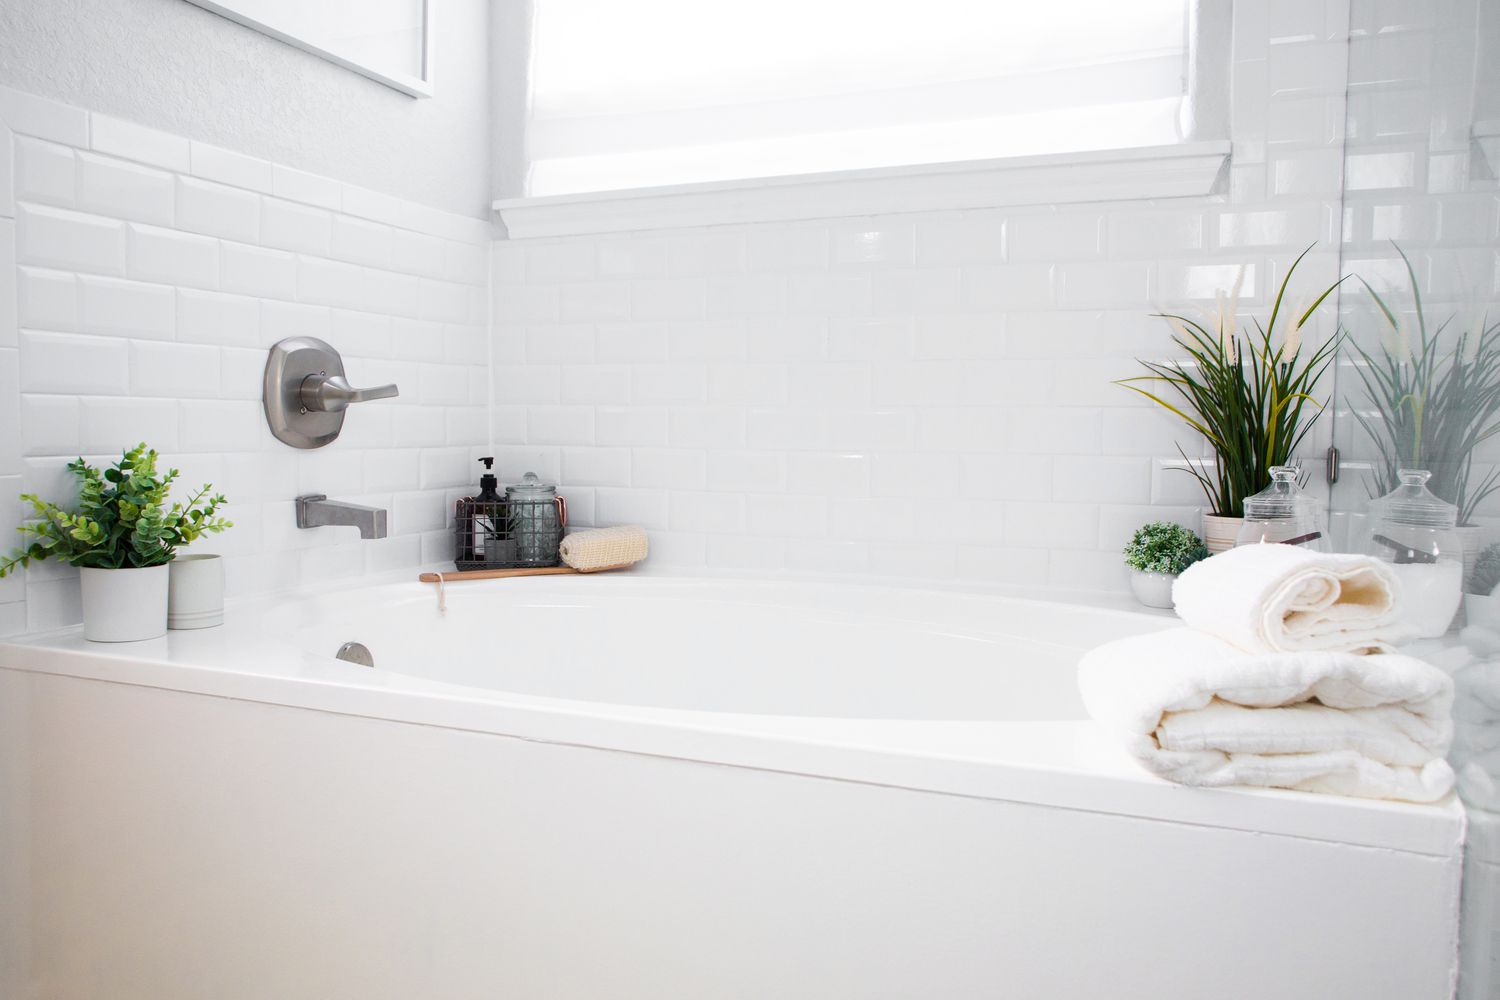
Are you looking to spruce up your home? Often, bathrooms take a big chunk of time and money. One main piece is the bathtub—it can really make or break how good a space looks. Are you thinking about giving it some love with a refinishing job?
This could be fun if you’re into DIY projects. It lets you turn old stuff into new without spending too much on replacing things completely. But should YOU do this yourself? We’ll explore more in our chat today—let’s figure out whether DIY tub revamping works for you!
Understanding Bathtub Refinishing
Refinishing your tub, or reglazing as some call it, can really spruce up an old bathtub. It’s a way to fix and update the surface of a worn-out bath without replacing the whole thing. There’s no need for expensive demolition jobs or messing with plumbing. First, they sand everything down smoothly.
Are there any chips or cracks? They get fixed next. Then comes primer and paint layering on top, followed by this final topcoat that makes it all shiny like new again. Plus, any small blemishes like stains will be covered, too, so you end up saving money while also getting fresh-looking bathroom appeal.
Pros and Cons of DIY Refinishing
Going DIY on bathtub refinishing can be rewarding and kind to your wallet. You get a fresh look without shelling out for labor costs, and you set the pace yourself! However, it’s not all smooth sailing.
This task is time-consuming and messy, with lots of details involved. Don’t forget about safety! Some chemicals used are hazardous, so proper ventilation matters. Also, remember that consumer-grade materials may mean your work doesn’t last as long compared to pros’ jobs.
Choosing the Right Materials and Tools
To ace a DIY tub refinishing, you need the right stuff. Special paints and coatings are key. Gear up with sandpaper, brushes, rollers, and masking tape for crisp lines. Gloves and respirators are your best friends here.
Also, ensure your bath is free of soap or other residues so that the new finish sticks well. Doing this homework in selecting supplies really makes a difference in how long-lasting and classy it ends up looking.
Finishing Touches and Maintenance
Once you’re done refinishing, some final steps can make your tub last longer and work better. Always wait for the recommended curing time before taking a dip. This lets the finish set just right!
Regular cleaning helps, too, but stick to gentle cleaners. Adding a new bathtub stopper might also be a good idea. It boosts both the function and look of your refreshed bath. Tiny details like these really count towards nailing that DIY job!
Conclusion
Doing a DIY tub refinishing right can definitely be your win. It’s cheaper and less hassle than redoing the whole bathroom, yet still makes it feel new!
Just remember to understand how to do it, weigh upsides against downsides, pick quality materials, and keep up with cleaning afterward. Done properly, this all ensures that a sparkly bath stays the star of your home for many more years.
